I recently saw a hysterical video about a bride-to-be trying to get a cake estimate from her possibly, might-be wedding cake baker. The video is attached below.
Caker's Nightmare
I know that choosing a wedding cake is something that most people only go through once or twice in their lives, so it stands to reason that one would not have a very realistic idea about what goes into estimating the cost of a wedding cake. However, it's something that I do many times a week and so here is a list of four things to consider before contacting someone for a cake estimate.
1. Wedding Date?--If your possible cake maker is good, she/he will book up fast!! Although many of my phone conversations with brides-to-be start off with the questions "How much.........." I quickly steer the conversation to "When is your wedding date?" There's simply no reason to waste each other's time if the date in question has already been booked full for a year!
2. Venue and Reception Time? I can deliver 3-4 wedding cakes per weekend but this number is determined by where your reception is and at what time. I serve a fairly large area since I'm located in a rural part of Oklahoma. I've been known to travel to several far-flung towns on any given day, sometimes racking up over 400 miles in one day! However, I need to be sure that I can accommodate all brides delivery needs on any of those given days!
3. How many guests do you plan to serve? My cake prices are determined by a per serving price so a rough estimate of how many guests you plan to serve is vital information for beginning the cake estimate process.
4. Fondant or Buttercream Icing/Possible Cake Flavors? Also effects cake estimate--so many variables go into even a rough estimate of a wedding cake. Here's a link to the cake flavors, fillings and icings that I offer.
Cakes by Diane Flavors and Pricing
There are several more variables that go into a cake estimate including, but not limited to, complexity of design, delivery charges, plateau rentals and flowers (gum paste or real). Giving the four questions listed above some thought before contacting a potential cake maker will make for a far more productive conversation about your beautiful wedding cake-to-be!

Sharing the cakes I've made and some other fun stuff I've learned along the way about family, food and fun!!
Wednesday, July 18, 2012
Saturday, December 31, 2011
Final Week of 2011 Cakes
On this, New Year's Eve 2011, I thought I'd post pictures of cakes I did during the final days of 2011. What a great year it's been! Now it's time to get ready for 2012 cakes but here's a final look at 2011!!!
 |
| Birthday Cake for a sweet little girl who wanted this cake to have brown hair just like her!! |
 |
| Christmas Italian Cream Cake--YUM!! |
 |
| Final Wedding Cake of 2011 and one of my favorites! |
 |
| Kayla's Baby Shower Cake--I've known this mommy-to-be since she was in the 4th grade!! How has time gone this fast?!?!? HAPPY NEW YEAR!! |
Sunday, December 18, 2011
These Are A Few Of My Favorite......................WEDDING CAKES!!!
I've had the chance to make some really amazing wedding cakes over the last few years so I thought I'd put together a little walk down memory lane featuring a few of my favorite wedding cakes!!
 |
| The one that started it all! This is the very first wedding cake that my friend Linda convinced me that I should make for her daughter's wedding. I had, after all, taken all three of the Wilton cake classes at our local hobby store! It took some pretty major convincing from her to assure me that I could, indeed make a wedding cake, but at last I agreed--I found out later that her first, second, and perhaps third choice cake bakers were already booked and she was quite desperate by the time she talked me into what would turn out to be the beginning of a new career for me! |
 |
| The Zebra Cake Now this was a display cake I did for my very first bridal fair--It was enormous and quite an eye catcher, landing Cakes by Diane on the front page of the local newspaper! |
 |
| The Luttrell I have made this cake in about a dozen different variations--it was first ordered by the wonderful Luttrell family and so it has been christened by me as "The Luttrell." |
 |
| Abby's Random Ribbon Wraps I loved this cake so much that it adorned my first Cakes by Diane brochures and pamphlets. |
 |
| The Snyder Cake After I'd finished this cake I felt sure that I was finally a cake decorator! The amazing photography of Dawn Muncy made the cake look even more grand!! |
 |
| Kelly's monogrammed polka dots. I loved this cake because it was so cute and colorful! |
 |
| I love, love, love all of the beautiful flowers on this cake!! |
 |
| Pink and Bling This cake was all pink and blingy and was really the centerpiece of the affair!! I worked closely with wedding planner Amanda Sikich of Planned 2 Perfection to create this cake!! |
 |
| Natalie's Wedding Cake This cake was so much fun to plan and make. I spoke with bride-to-be Natalie for nearly 2 hours at our local Starbuck's to get all of the details just right for her peacock-themed wedding cake. |
 |
| Black Damask I had finally perfected the art of stenciling buttercream on buttercream when I finished this pretty cake! |
 |
| Anne's Wedding Cake My idea of the classic wedding cake--and the inside was so yummy too--vanilla/almond cake with almond pastry cream filling!! I love working with all of the wonderful families who choose me to be their wedding cake designer. It's because of them that I get to do something I truly love every single day!! |
Friday, December 9, 2011
Sugar Cookies

It really is fun to make decorated sugar cookies---it does take some time and a steady hand, but they look so cute and taste so good that it's really worth the effort. The cookies above were made for a bridal shower and so each kitty cookie had a little silver crown with a purple bow and flower on it to mix with the bridal shower's colors of purple and black. Here's a brief explanation of how to decorate sugar cookies with royal icing.
Recipe:
You can use any of your favorite rolled sugar cookie recipes but the one that I prefer to work with is called the NFSC recipe (NFSC stands for Never Fail Sugar Cookies) and I found the recipe on a cake decorating website called Cake Central. If you google the recipe you'll find it all over the internet, but here's one link to it: https://cakecentral.com/recipe/no-fail-sugar-cookies
After you've baked your cookies and they come out of the oven, they'll look a bit plain like this:

Plain little kitty cookie.
But don't fear! It's time to make some royal icing to make your cookies look FABULOUS!! I prefer to use this recipe: http://cakecentral.com/recipe/antonia74-royal-icing It really does work well!
The first step is to outline your cookies with royal icing. I use the icing just as it is-add whatever gel color to the icing that you prefer (black in this instance), and pipe onto cookies using a number 3 tip. I find that the above recipe is just the perfect consistency for this step.

All outlined!

It's easier to just outline all of the cookies at once and let the outline set up a little bit before filling in the cookies with white icing.

To fill in the kitty face, you need to thin down some of the white royal icing with a little bit of water--I add water, just a small amount at a time, until I achieve a consistency that allows the icing to fill the cookie easily, not too thin, but not thick either--Then color some of the icing whatever color you'd like the bow to be and fill in that area as well.
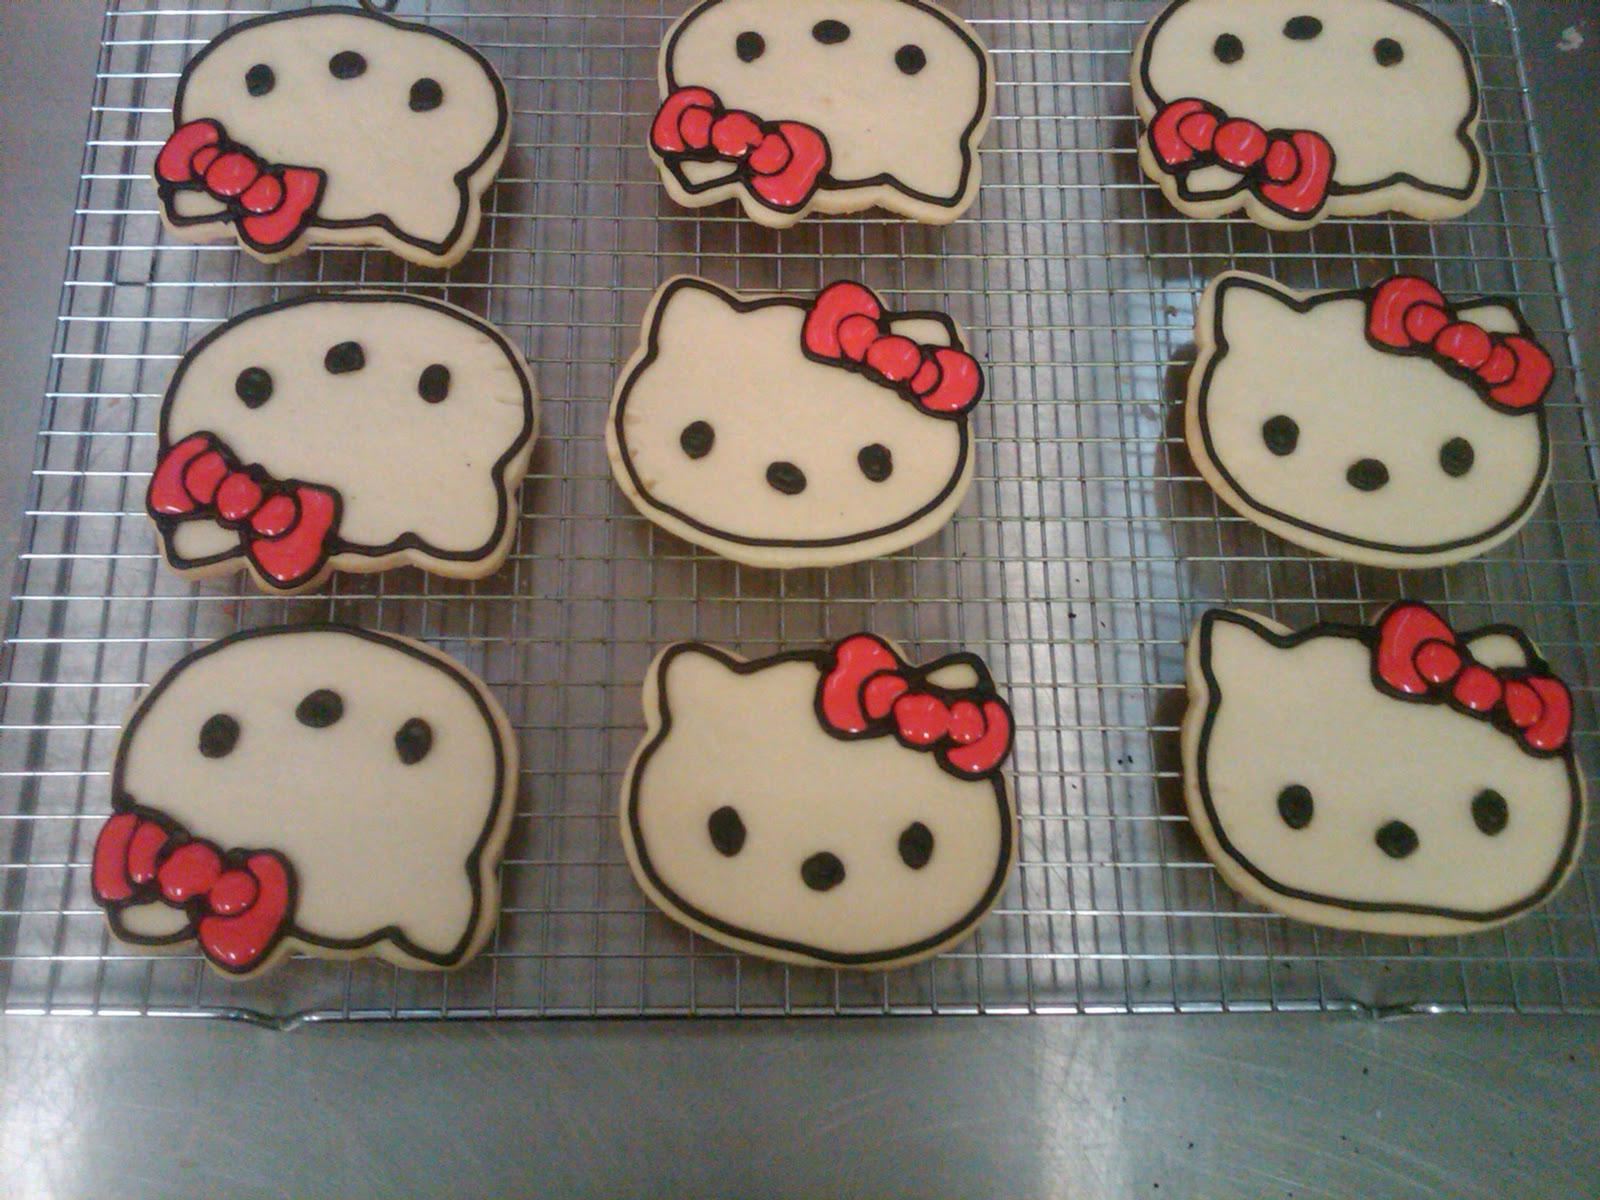

You can see that I filled in all of the bows first and then went back and filled in the white faces of the kitties last. If you plan to stack the cookies or put them in plastic bags it's best to let the cookies set for at least 24-48 hours to make sure the icing is thoroughly dry. You don't want to mess up your pretty cookie art!! Enjoy!!!
Monday, December 5, 2011
Drum Cake
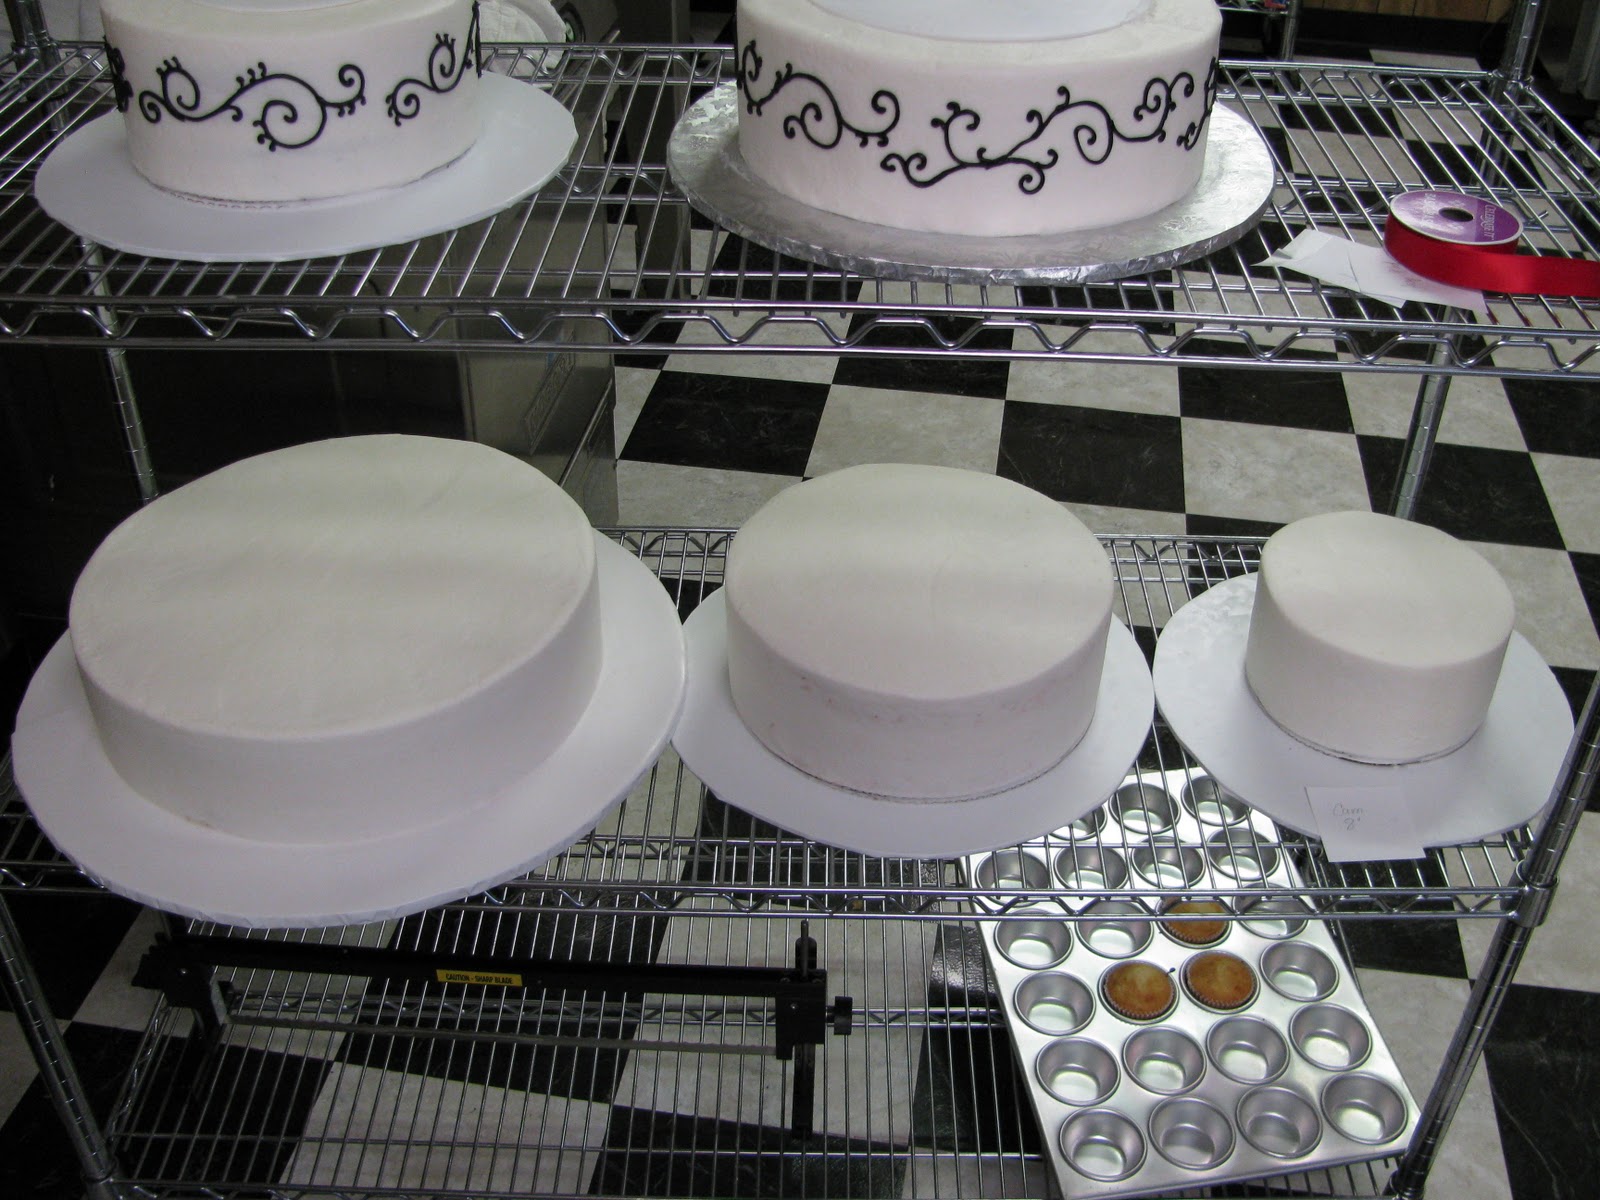
I had the fun opportunity to make a stacked drum cake for my nephew Cameron's graduation party and thought I would share a bit of the process with you!

Naked cakes!! The first stage of cake building--these tiers have been filled and are just resting and settling before they get iced in preparation of being covered in fondant.
The tiers are then iced smoothly with buttercream icing.
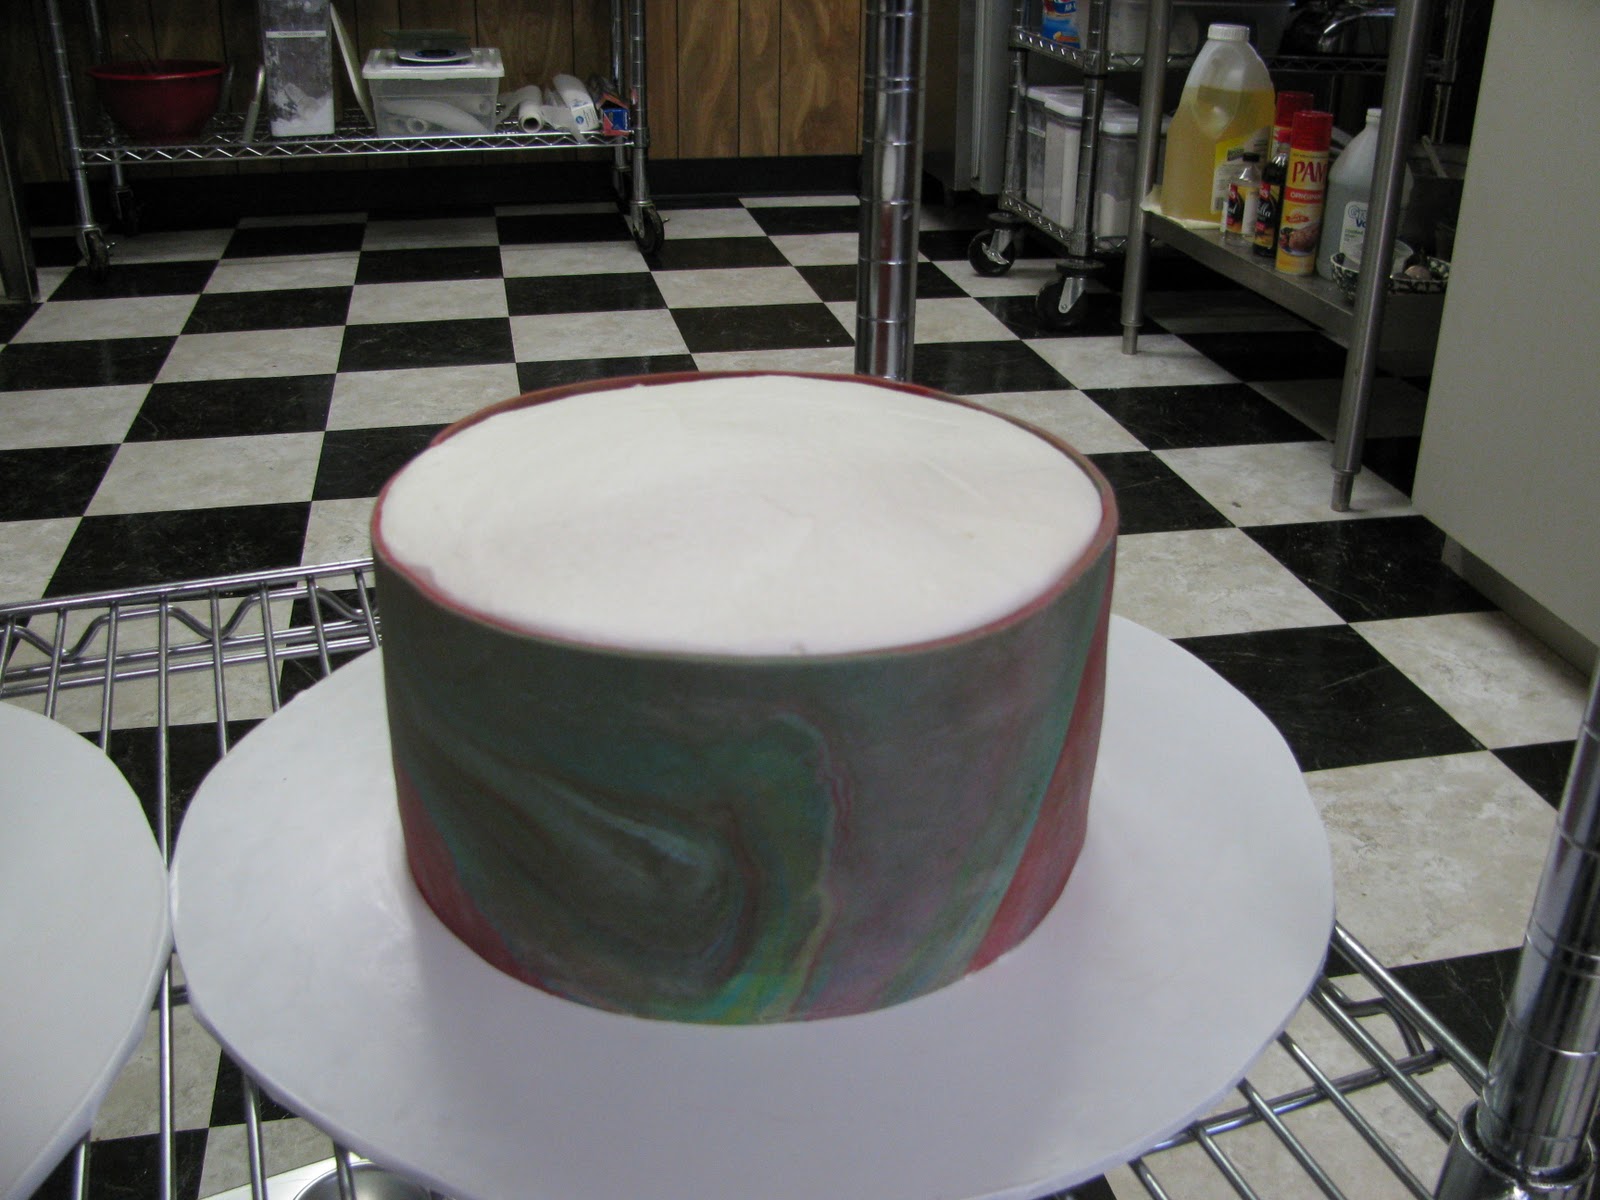
I kneaded several different colors of fondant together to get this tie-dyed effect for the drum sides. I cut out strips that measured 4"in height plus the measurement of the circumference of each tier and wrapped them around the cake tiers.

I love how the fondant was so colorful and varied! I placed supports and plates in the two bottom tiers in preparation for stacking the tiers on top of each other. I love the SPS system by Bakery Crafts.

I stacked the tiers on top of each other and got ready to add the finishing touches.

I cut strips of gray fondant and wrapped them around the cake tiers to emulate the metal strips on real drums.

I painted the gray fondant with silver luster dust mixed with Everclear to make everything nice and shiny. We then loaded the cake into the back end of our Tahoe and traveled 6 hours to attend my nephew's graduation.

And the cake made it intact!! My nephew added his drumsticks and the drum cake was complete!

Except for some drumming by Cameron, my enormously talented nephew!

Happy Graduation Cameron!!
Sunday, November 20, 2011
Cake Truffle Tutorial
I've been on a personal mission to change the way people talk about one of my favorite cake offerings :)! I've heard them called cake pops, cake bites and the most revolting--cake BALLS!! I know I'm fighting a losing battles but here is my tutorial for cake truffles:


You will need a baked cake and candy melts--honest that's it!
The first step is to throw crumbled up, already baked cake into the mixer bowl.

I use the cake top that I cut off of the cakes that I decorate when I level them. If you start with a very moist cake there will be no need to add any frosting or liquid to the cake itself. If you want to add different flavors or frosting, now is the time to throw it in the mixer bowl--this is a totally personal preference step-if you add too much extra frosting or liquid flavoring, your cake truffles will end up with a soggy texture.
At any rate, you mix up the cake top until it forms into a cookie dough type of texture.

It may feel like you have mixed the cake crumbles together forever, but eventually it really will form this cookie dough texture.

Use a cookie scoop to scoop out equal amounts of cookie dough. Then roll them into nice smooth balls, err I mean truffles!!!

Place on a cookie sheet and place in the freezer for about 30 minutes--Yowza, I think I need to defrost my freezer!!

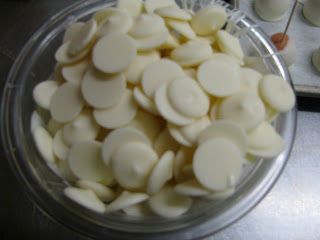
While the cake balls, dang it I mean cake truffles, are in the freezer, place candy melts in a glass bowl and melt in the microwave, following package directions.

Remove cake truffles from the freezer, put a toothpick in each one, and dip in the melted chocolate. You can also just roll them in the chocolate, but I've found that this method works best for me.

Remove from chocolate and place on parchment-covered cookie sheet.

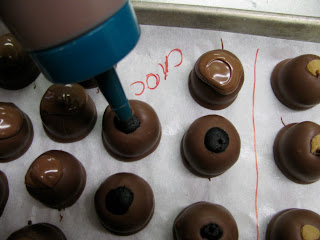
Remove toothpicks and add a dollop of melted chocolate to cover the little spot on top.

To add that little dollop on top, I place melted chocolate into a bottle and just squeeze a blob on top of each cake truffle. You can also just use a spoon for this step.

OK, so I forgot to take a picture of me placing the dollop on the white cake truffles, but hopefully this will give you a lovely dark chocolatey idea! You may also want to make a note of what kind of cake is inside the truffle at this time if you're making more than one flavor--kind of hard to tell after that dollop is on top.........believe me!!!!

Allow the cake truffles to set up (about an hour or so). Then eat them up, YUM!!
You can use all sorts of flavor combinations between the different chocolates and any kind of cake flavor you can imagine. Delicious and easy!

You can even monogram them if you're feeling ambitious! I just used buttercream for these monograms. You can also drizzle with different colors of melted chocolate and add sprinkles or nuts before the chocolate sets up.
Cake TRUFFLES people!!!!! Enjoy!!
Friday, April 29, 2011
Brownie Bites

This week I was asked to make some Brownie Bites for an event. I said, "Sure I can do that!" Then I asked, "So what exactly are brownie bites?" (I often respond to requests in exactly this manner. After I've agreed to do something I've never done before, and have no idea how or what I've agreed to do, I usually run to my computer and google whatever my mystery assignment is.) This practice has led me to expand my repertoire of abilities in many directions--some more successful than others!! Now back to brownie bites.....
This is a really easy yummy treat to make! Start with a batch of brownies. You can use your own brownie recipe, my brownie recipe (below), or you can even just bake up a boxed brownie mix--
Easy Brownies
2 sticks butter, melted
3/4 C. cocoa
2 C. sugar
4 eggs
1 1/2 C. flour
2 tsp. vanilla
1/2 C. nuts (optional)
1/2 C. chocolate chunks (optional)
Measure and sift the dry ingredients together in a bowl. Add the melted butter, eggs and vanilla. Beat until smooth. Fold in the optional ingredients (your option!). Pour into greased and floured 10 1/2 X 15 1/2" pan and bake for 20 minutes in 350 degree oven. Cool and cut into 2" squares and then into triangles.
It's really easy to cut brownies after they've cooled off a few minutes by using a plastic knife--glides right through no matter what "add-ins" you've stirred into your brownies.
2 sticks butter, melted
3/4 C. cocoa
2 C. sugar
4 eggs
1 1/2 C. flour
2 tsp. vanilla
1/2 C. nuts (optional)
1/2 C. chocolate chunks (optional)
Measure and sift the dry ingredients together in a bowl. Add the melted butter, eggs and vanilla. Beat until smooth. Fold in the optional ingredients (your option!). Pour into greased and floured 10 1/2 X 15 1/2" pan and bake for 20 minutes in 350 degree oven. Cool and cut into 2" squares and then into triangles.
 |
| Now I realize that the vertical cuts aren't represented here but I'm challenged in the diagram-computer drawing area so just imagine that there are also vertical lines on these diagrams. |
It's really easy to cut brownies after they've cooled off a few minutes by using a plastic knife--glides right through no matter what "add-ins" you've stirred into your brownies.
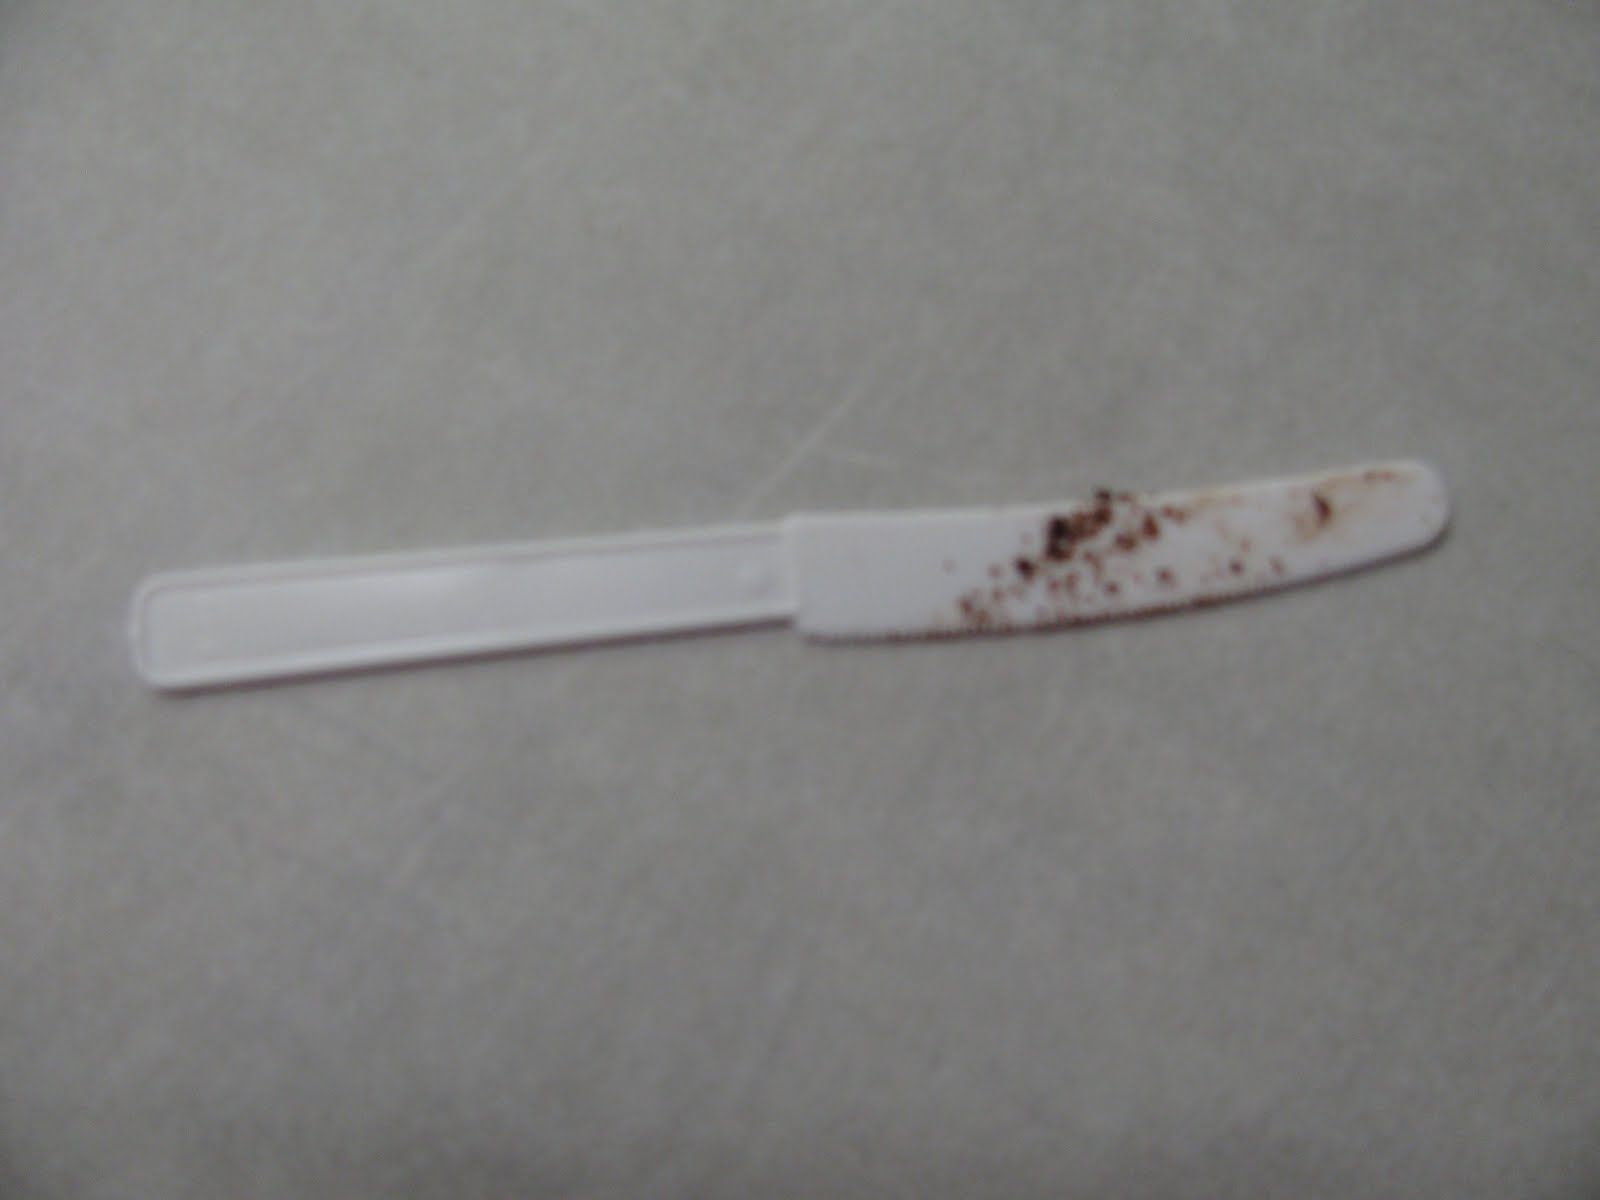 |
| Yep--a plastic knife--this one's been used on brownie bites!! |

I melt the candy melts in the microwave-every microwave is different but I can melt 3 pkg. of candy melts in 3 minutes perfectly (stirring once at 2 minutes) and once at the end.
Then you simply dip all three sides of the brownie triangle in the melted chocolate. Lay them on parchment paper and top with whatever you've added to your brownie bites. I used walnuts and white chocolate for these.
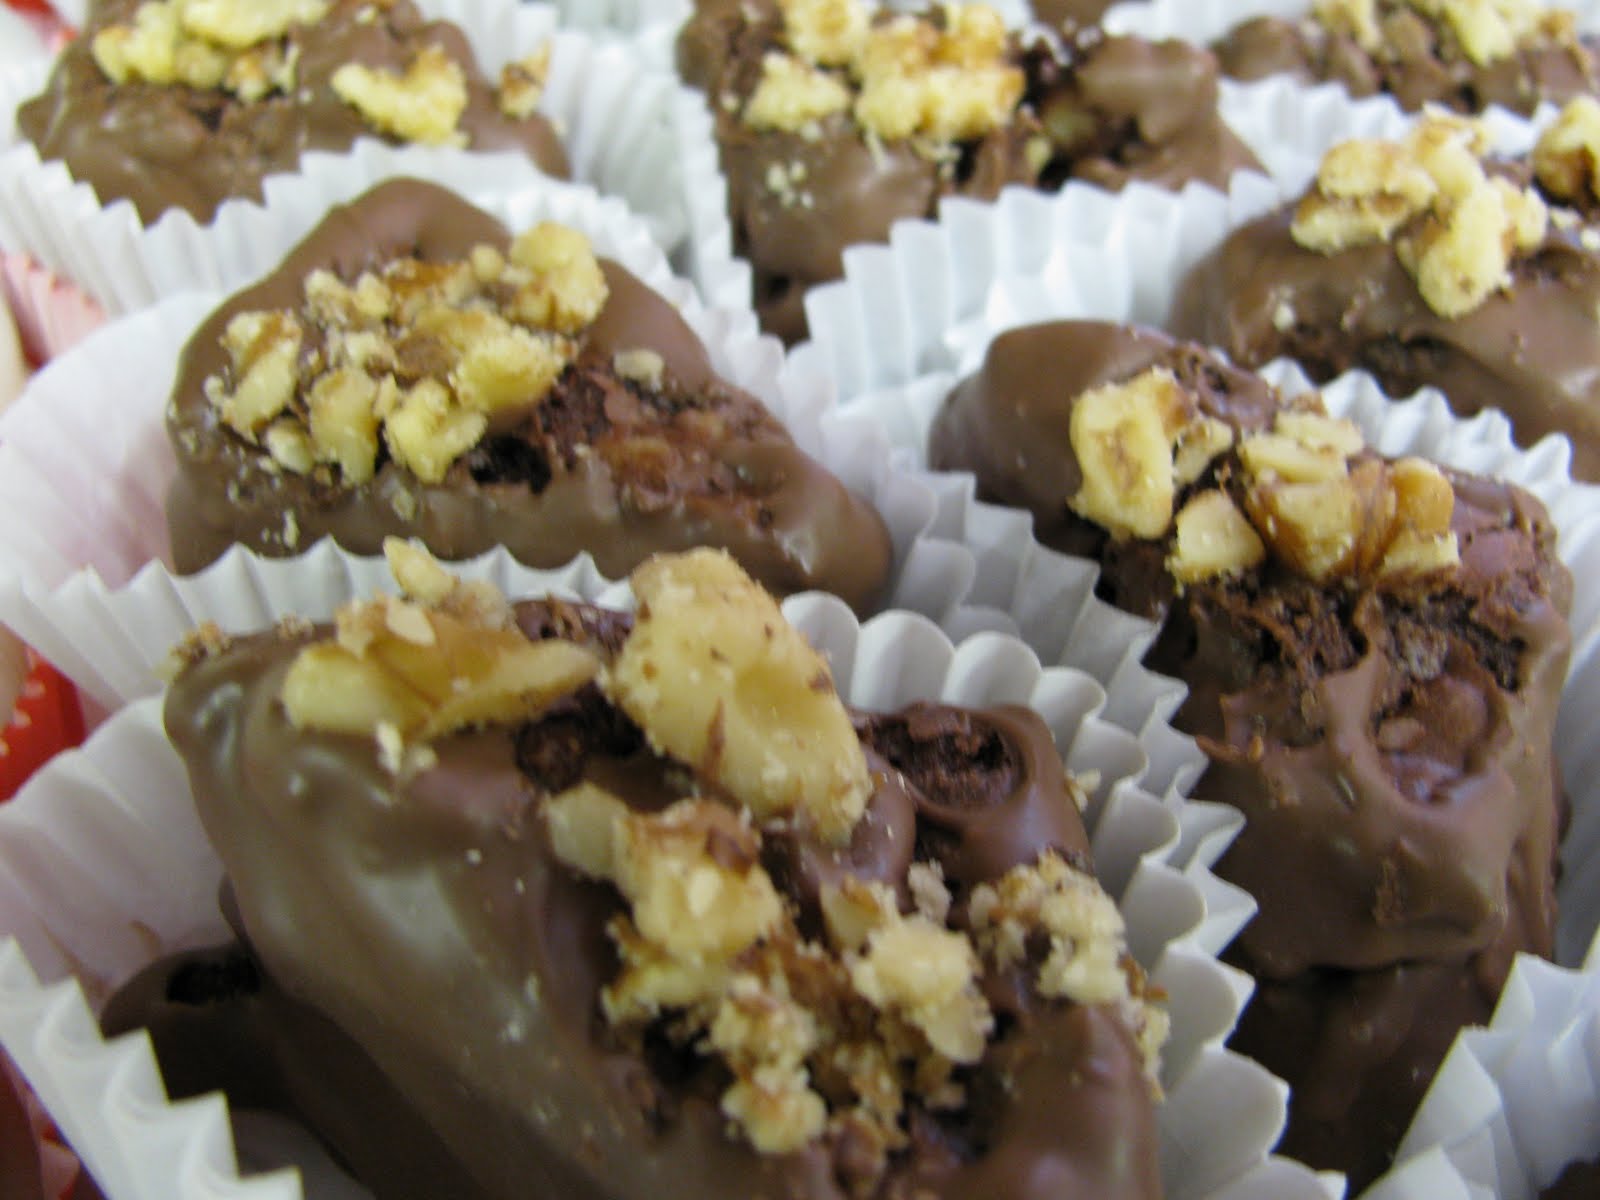

YUMMMMY!
Subscribe to:
Posts (Atom)